Getting started
Explore the business workspace
Set up an organisation, choose a workspace entry point, and follow contracts through approvals and review.
Open the Business workspace after signing in. If you do not yet belong to an organisation, the workspace takes you to setup so you can create one directly; there is no manual access request in that path. If you already own a workspace, pricing lets you continue with that workspace instead of creating a duplicate one. The owner is added as the first active member and a General workspace is created with a new organisation.
Example only · self-service flow
Business purchase to workspace access
Growth plan selected from public pricing
- 1
Choose a plan
Public pricing
- 2
Sign in
Account required
- 3
Create workspace
Owner access
- 4
Complete checkout
Provider confirms
After workspace setup
Owner creates the organisation and can enter the Business workspace immediately.
After payment verification
Paid seats and limits activate only after the configured payment provider's verified event is recorded.
Buy a Business plan directly
- 1Choose a Business plan on the public pricing page. The selected catalog plan is carried to sign-in and organisation setup; an unknown URL value is not treated as a plan.
- 2Sign in or register. If you already own a workspace, choose it to continue to its billing settings; otherwise create an organisation. The person who creates a new organisation becomes its first owner, so no administrator has to manually grant basic workspace access.
- 3On Settings → Plan & billing, the owner starts secure checkout for the selected plan. The browser is sent to the configured payment provider only when it returns a checkout URL.
- 4Return to the workspace and wait for the verified payment event. The server, not a browser redirect or bank notification, changes paid plan capacity and limits.
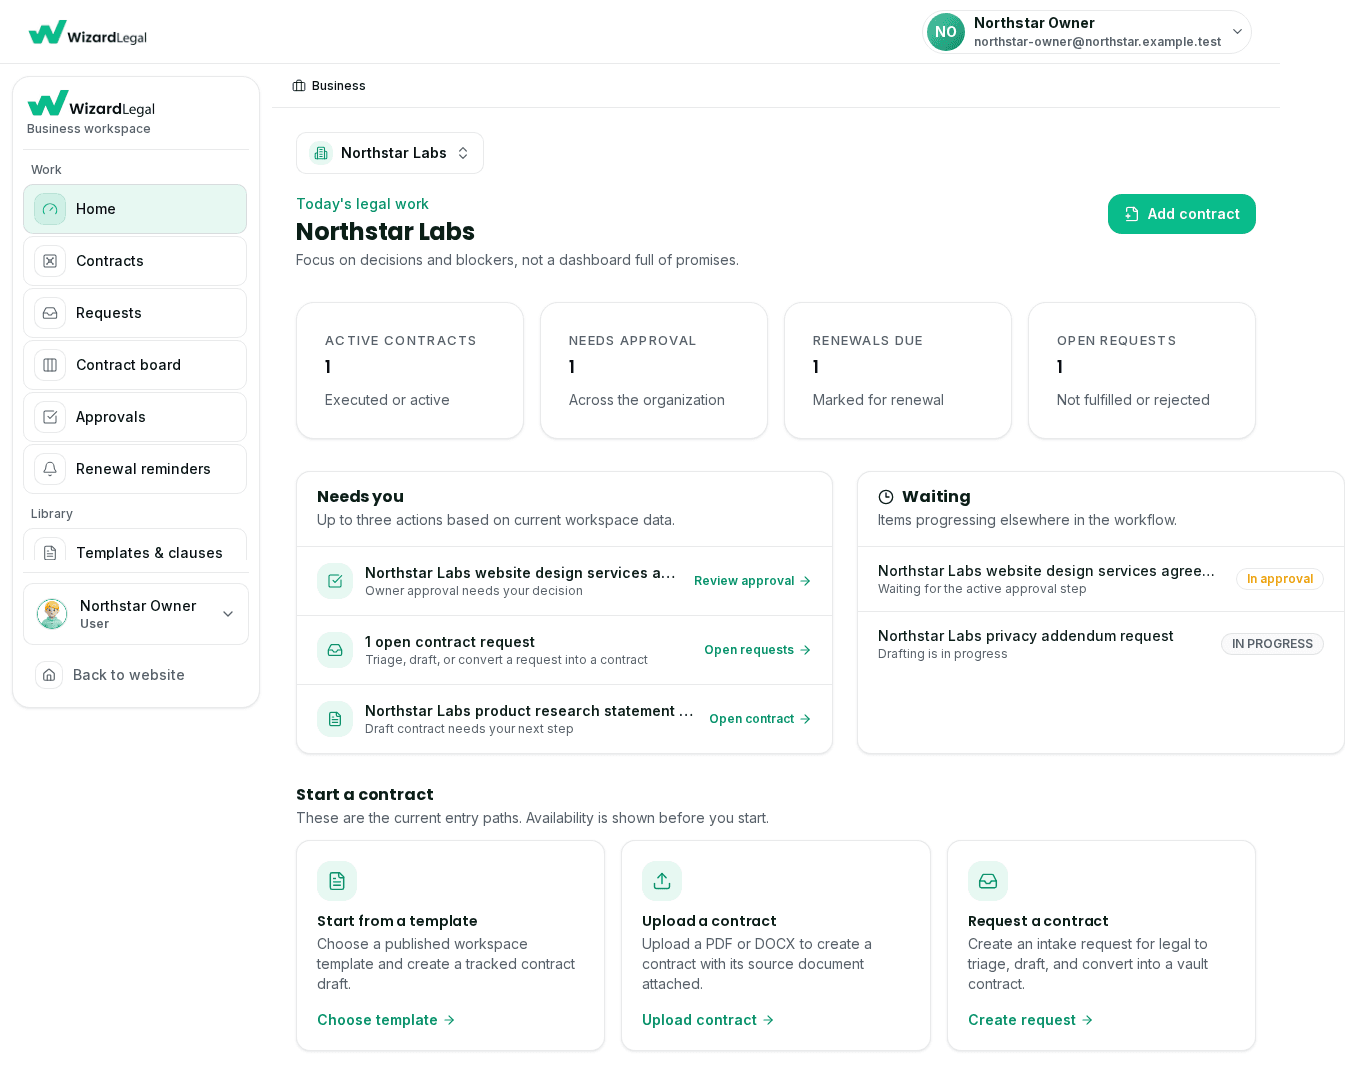
Choose a clear starting point
- 1Create a tracked contract from an available workspace template when you are starting from approved content.
- 2Upload a PDF or DOCX only when you are authorised to handle it, then review the extracted or attached content before relying on it.
- 3Create a contract request when another person needs to provide the facts or draft. Follow its status from the request and contract views.
- 4Use the workspace navigation to move between contracts, approvals, renewal reminders, templates, and organisation settings.
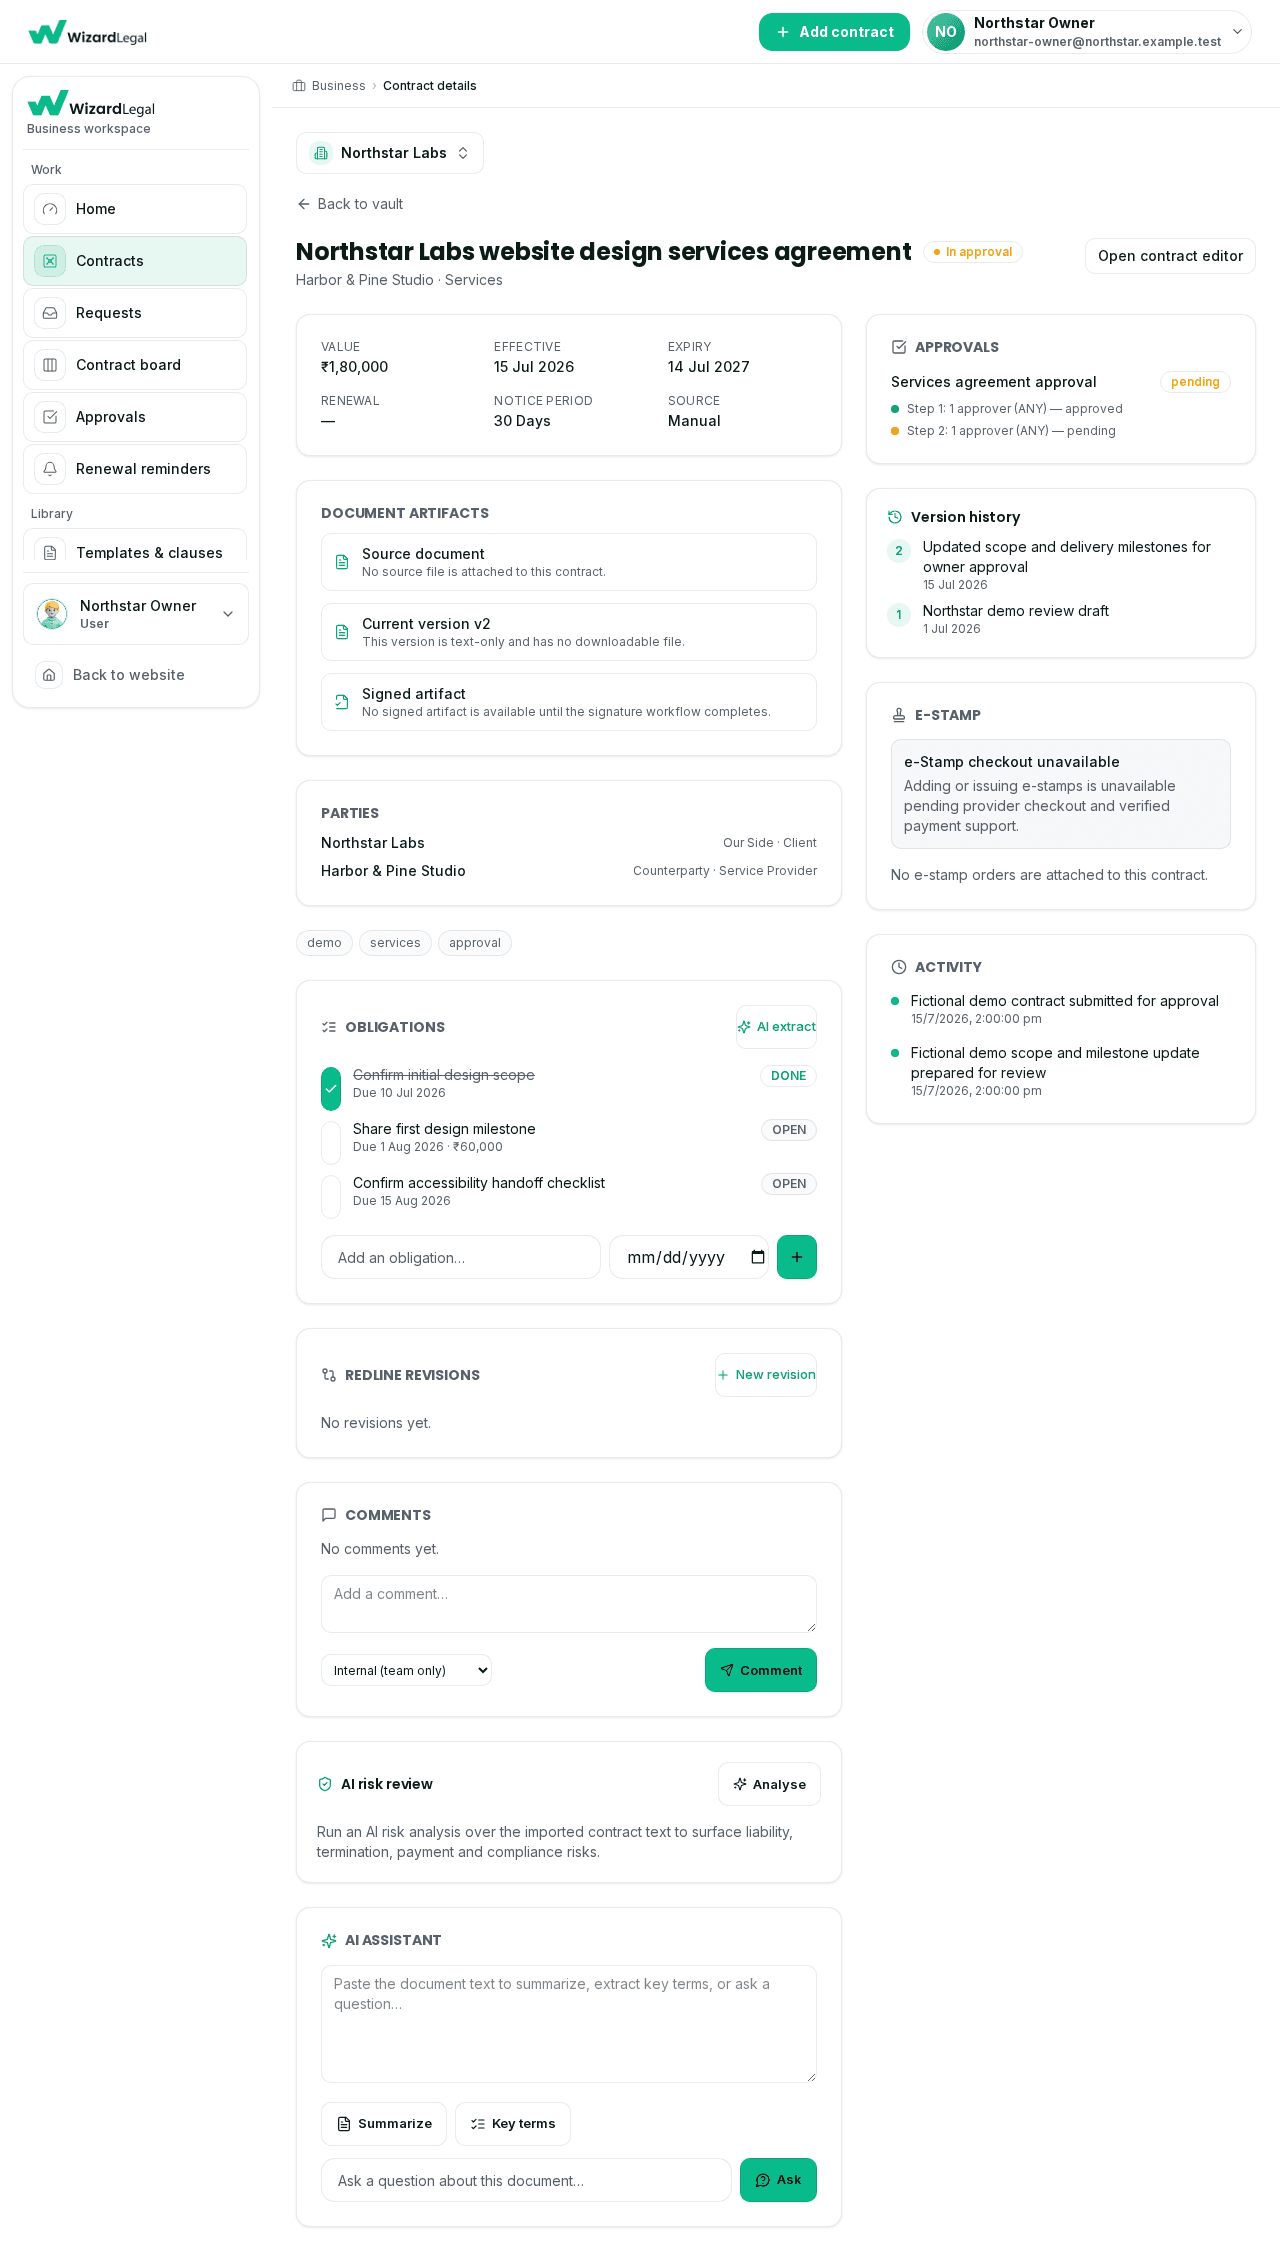
Review the record before changing its state
A contract detail view brings together the current artifact, parties, approval state, version history, obligations, comments, and any available review tools. Check the source and current version before you approve, share, or send a document for signing. Features marked unavailable in the workspace remain unavailable even if a general guide mentions a future integration.
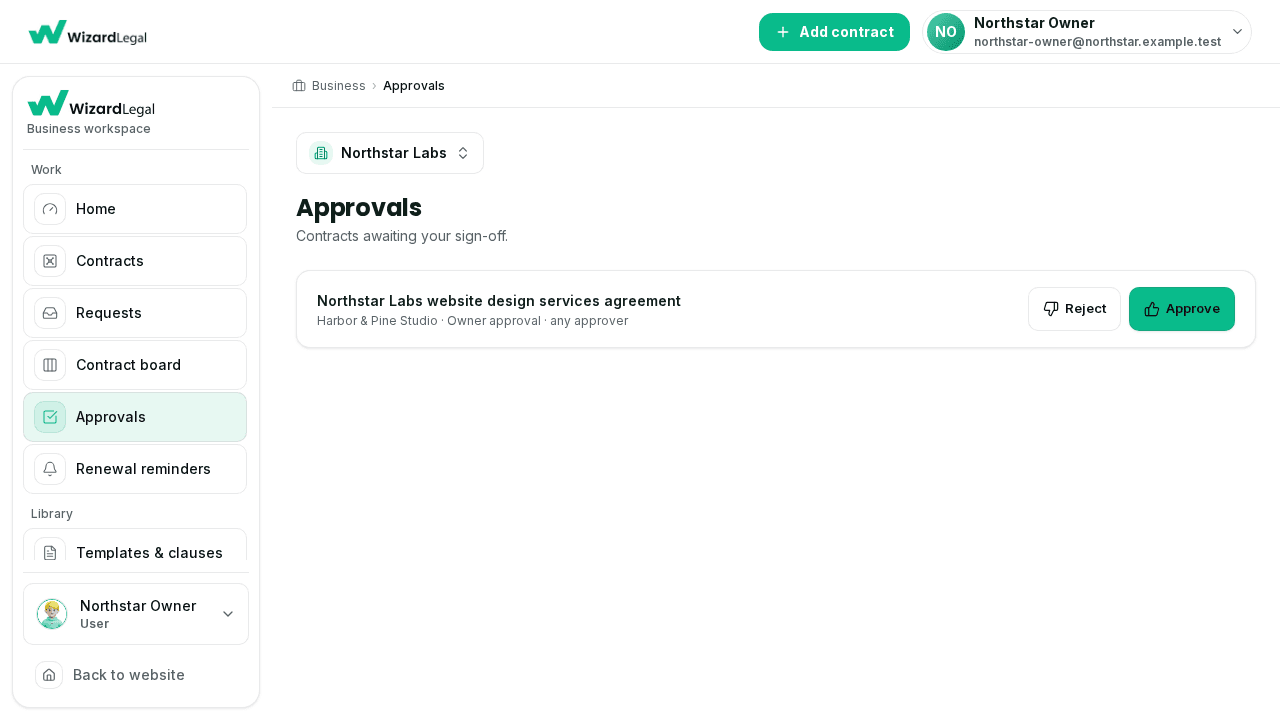
Keep approvals and follow-up visible
Use the approval and renewal views to see work that needs a decision or follow-up. Permissions still apply: organisation members can see only the work and controls allowed for their role, and plan changes are restricted to the organisation owner.